I've been doing this for quite a while, several years now at least: fermenting in a bag. It's easy clean up, easy yeast harvesting, and it fits my little chest freezer. The pictures here are from a couple of different brew days to show the complete process. I know some people will think this is crazy, but I've done side-by-side comparisons using the bags versus a food grade plastic bucket, and there are no discernible off-flavors. There are other choices for bags, for example, Walmart sells food grade bags for marinating and brining that fit into a 5 gallon bucket that are around $10 for 25. I don't use those because they aren't big enough. More on the bags I do use below.
I have two of these 13 gallon recycle bins, they are just the right size that two fit in my chest freezer. There is plenty of headspace for a 10 gallon batch, I've never had a a problem with a strong fermentation blowing over the top.
Here are the two recycle bins in the freezer. The one on the left has a Costco trash compactor bag in it. The bags are 18 gallons and are made of new material, not recycled plastic. Costco doesn't claim these are food grade bags, but then, they really aren't intended for this use. These are the bags I've been using for fermenting. The light bulb on the right is actually a terrarium heat bulb, no light, just heat. It's a 60W bulb and is enough to keep the beer at the right temperature even in the winter. It's hanging inside a clay pot, which helps keep the heat even. It's sitting on that shelf that covers the compressor, so good use of an otherwise useless space. Also not shown in this picture is the computer fan that I added on the same shelf, it helps circulate the air to keep the temperature a little more even.
Filling the bag. I'm not worried about oxygen here, in fact, I'll be adding oxygen in the next step. I do keep the freezer lid closed while filling to keep any nasties out, it's just open for the picture.
Temp is set at 66F. The controller is an Inkbird Itc-308 Digital Temperature Controller Outlet Thermostat, which is super simple to set up and it has controllers for both hot and cold. My freezer is plugged into the "cold" outlet, and the terrarium bulb is plugged into the "hot" outlet, duh! The probe is in the blue bucket, between the inside of the bucket and the outside the bag, so it's not actually in the beer, but pressed right against it.
Oxygenating. The oxygen tank is from Home Depot, the stone is from Homebrewstuff. I do 30 seconds for a 5 gallon batch and 1 minute for a 10 gallon batch.
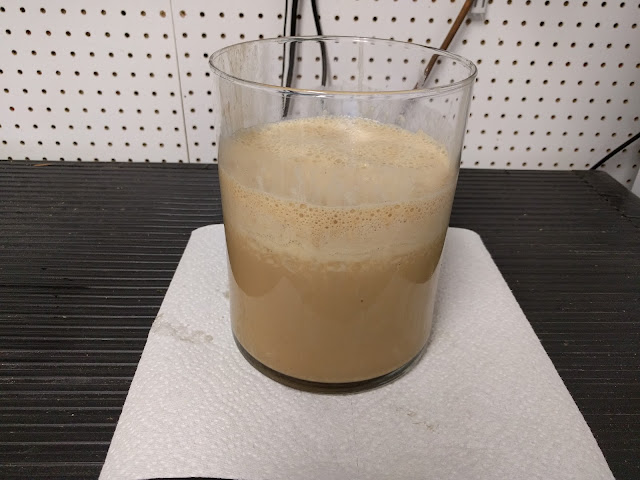
A quart and a half of fresh yeast.
Different day, pumping the beer into a keg. Notice the kitchen size trash bag over the top. This isn't the best picture since I've changed my technique. Now when I put the top bag on, I press all the air out so the bag is right on top of the beer. As fermentation takes place, the bag will swell with the CO2 generated by the fermenting wort, then when cold crashing, it will absorb the CO2 back into the beer and usually end up right on top of the beer again. This really helps reduce oxygenation and eliminates problems with headspace, excess air, and also gets rid of the problem when using an airlock and the Starsan gets sucked into the fermenter. Oddly enough, I still use a 5 gallon bucket and airlock when making ciders and partigyle batches, I should probably use bags with the bucket too. Easier cleanup, for sure. I'm not sure of a better way to pump out the beer, this is the step where there is the most exposure to air (and oxygen). I've tried just cutting a hole in the top bag and pushing the hose through, but then I can't see when to stop pumping.
Yeast is in a conical!
Saving the yeast. The pointy part of the bag is dipped in a bucket of Starsan first, and also the scissors and the glass container.
Looks nice! These get labeled and put in the fridge for some batch down the road. I try to use yeast like this fairly soon, but sometimes it could be as long as 6 months, if so, I make a starter.


